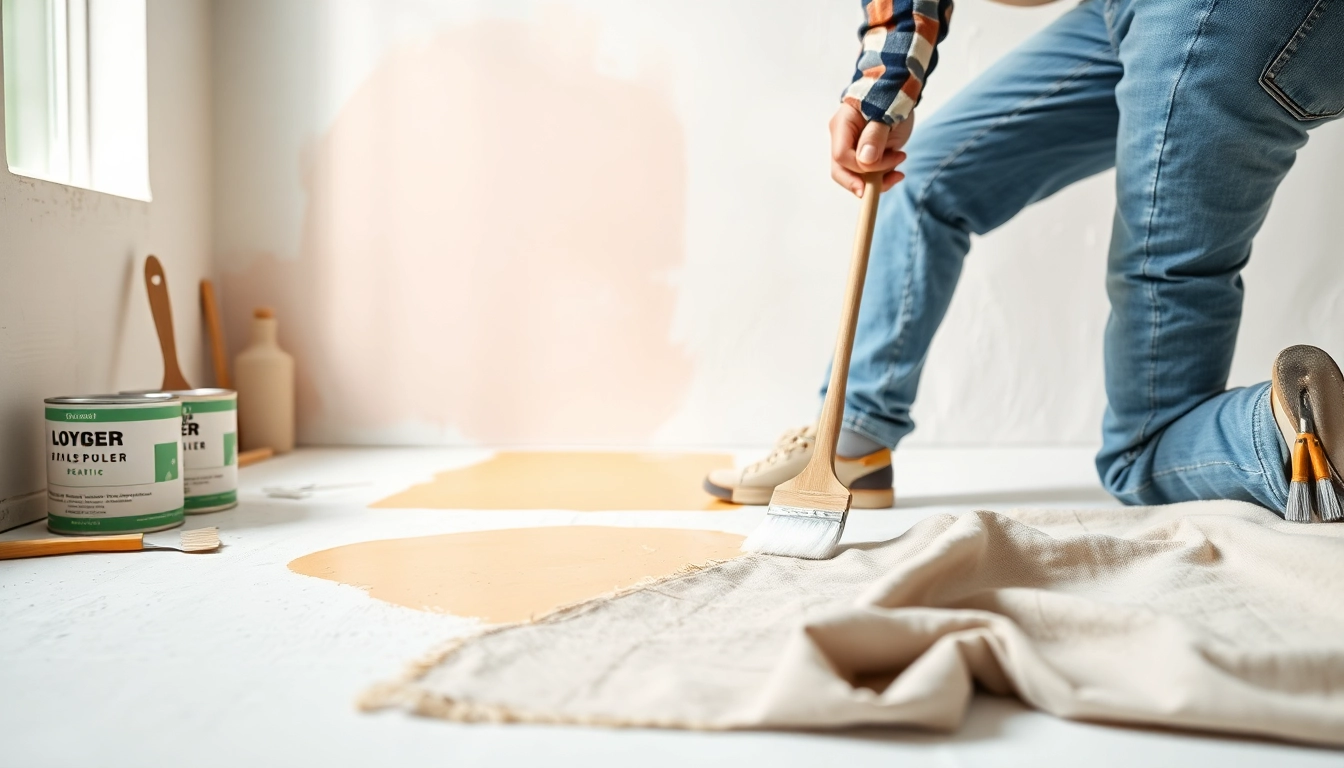
Understanding Drywall Painting Basics
Painting drywall is a crucial skill for both DIY enthusiasts and professional contractors alike. The process involves more than just picking a color and slapping it on the walls. A thorough understanding of drywall and its painting nuances is essential for achieving a flawless finish. For a successful drywall painting project, one must consider various factors like surface preparation, paint types, and application techniques.
What is Drywall Painting?
Drywall painting refers to the process of applying paint to drywall surfaces, which are commonly used in the construction of interior walls and ceilings. Drywall itself is made of gypsum boards that provide strength and insulation in buildings. Painting these surfaces not only enhances their aesthetic appeal but also provides an additional layer of protection against moisture and wear.
Materials Needed for Drywall Painting
To achieve the best results when painting drywall, you’ll need a selection of materials that are designed for both preparation and the actual painting process. Here’s a comprehensive list:
- Drywall Primer: A specialized primer for drywall helps in ensuring good paint adhesion and even coverage.
- High-Quality Paint: Use latex or acrylic paint for flexibility and durability, especially in areas with varying humidity.
- Paint Applicators: Choose between brushes and rollers, depending on your textured wall surfaces.
- Sandpaper: Various grits for preparing the surface, typically 120 to 220 grit.
- Drop Cloths: To protect your floors and furniture from paint splatters.
- Painter’s Tape: For clean edges and lines when separating different wall elements.
- Paint Tray: For easy loading and distribution of paint on rollers.
- Putty Knife: For applying joint compound to repair drywall imperfections.
- Vacuum: A shop vacuum or damp cloth to clean dust and debris from the walls.
Preparation Steps Before Drywall Painting
Proper preparation is pivotal for achieving a smooth and lasting finish. Inaccurate or incomplete prep work can lead to unsightly blemishes that ruin an otherwise perfect paint job.
Cleaning and Sanding Drywall
Before you begin painting, it is crucial to clean the drywall surface thoroughly. Dust and debris can disrupt paint adhesion, leading to peeling or uneven surfaces. Start by using a vacuum with a brush attachment to remove dust from every crevice and then wipe the walls with a damp cloth. Key steps include:
- Remove any old tape or adhesives that could interfere with painting.
- Address any holes or imperfections with a joint compound and sand smooth once dried.
- Sanding should be done using a fine-grit sandpaper to avoid scratching the drywall.
Applying Drywall Primer
Priming drywall is an essential step that many overlook but can significantly impact the final look of your painted walls. Drywall primers are specifically formulated to seal the porous gypsum board, allowing for even paint application. Benefits of using primer include:
- Improved paint adhesion, reducing the chances of peeling.
- Concealment of past repairs and imperfections for a uniform finish.
- Enhanced color coverage, especially important when dealing with darker hues or dramatic color changes.
When applying the primer, remember to use the same application techniques as you would with paint, ensuring even coverage. Allow sufficient drying time before proceeding to the next step.
Creating a Smooth Surface for Painting
Achieving a smooth surface is fundamental for a professional-looking paint job. After priming and once everything is dry, sand the primed surface lightly with fine-grit sandpaper. This will help to eliminate any imperfections or dust particles. Remember to clean off the dust with a damp cloth or vacuum afterward.
Techniques for Effective Drywall Painting
The actual painting process can be daunting if not approached correctly. Understanding various techniques will enable you to paint effectively, ensuring a smooth and even finish.
Using Brushes and Rollers Efficiently
Choosing the right tools is paramount for efficient drywall painting. Typically, rollers are best for large surfaces as they cover quickly and evenly, while brushes are ideal for corners and edges. Here are some techniques to consider:
- Use a roller with a medium nap (around 3/8”) for smooth drywall surfaces.
- A small brush helps navigate tight spaces and corners where rollers can’t reach.
- Always use a wet edge technique by overlapping each stroke to avoid roller marks.
Applying Multiple Coats
For optimal results, multiple coats of paint are often necessary. Each coat should be applied once the previous coat has dried completely. Depending on the color and finish being applied, you may need two to four coats. Here’s how to ensure effective application:
- Lightly sand between coats to promote adhesion.
- Ensure each layer is thin; thick coats may lead to drips and uneven surfaces.
- Vary the direction of application between coats for a uniform finish.
Sanding Between Coats for Perfection
Sanding between coats can greatly enhance the finish of the painted drywall. This technique not only helps in removing any imperfections but also provides a better surface for the next coat to adhere. Use a fine-grit sandpaper and sand gently, then clean off the dust thoroughly before applying additional coats.
Common Challenges in Drywall Painting and Solutions
Even with the best preparations and techniques, challenges can still arise during the drywall painting process. Being aware of these potential issues and knowing how to address them is part of a successful endeavor.
Dealing with Streaks and Uneven Surfaces
Streaks or uneven surfaces can be a common headache for many painters. To avoid this, always apply paint with steady, even pressure and maintain a wet edge to blend seamlessly. If you notice streaks post-application, lightly sand the area and apply a fresh coat, ensuring even distribution.
Understanding Primer and Paint Compatibility
Not all primers and paints are created equal—making sure that they are compatible can save time and frustration. Always choose water-based primers for latex paints and oil-based primers for oil-based paints. This compatibility ensures that the paint bonds effectively, preventing future peeling or chipping.
Managing Paint Dry Times
Understanding how to manage paint drying times is pivotal in ensuring that your paint job comes out flawless. Factors such as humidity, temperature, and air circulation can greatly affect drying time. Always consult the paint or primer’s instructions for specific drying times and adjust your project schedule accordingly.
Maintaining and Caring for Painted Drywall
After you’ve successfully completed your drywall painting, the next important aspect is maintenance. Proper care can keep your walls looking fresh and vibrant for years to come.
Cleaning Painted Walls
Regular cleaning of your painted drywall is essential to maintain its appearance. Use a mild detergent mixed with warm water and a soft sponge or cloth. Avoid abrasive cleaners that can damage the surface. For stubborn stains, a diluted vinegar solution can be effective without harming the paint.
Repairing Damage to Painted Drywall
Over time, drywall may suffer damage from everyday wear and tear, such as scratches or dents. Quick repairs are essential to maintain the integrity and appearance of your finish. Here’s a quick guide:
- For small holes, use a spackling compound and a putty knife; then sand smooth once dried.
- For larger damages, patch with a piece of drywall, tape, and then coat with joint compound, followed by sand and paint.
Refreshing Paint: When and How
Knowing when and how to refresh your drywall’s paint can breathe new life into your spaces. Ideally, you should refresh paint every 5-7 years, but high-traffic areas may require more frequent attention. When refreshing, always clean the walls, touch up problem areas, and apply a fresh coat using the techniques discussed earlier for durability and smoothness.
In summary, successful drywall painting is an art as much as it is a science. From meticulous preparation to knowledgeable application and maintenance, every step contributes to the final aesthetic of your space. By understanding these principles, you’ll be well-equipped to handle your drywall painting projects with confidence and flair. With careful execution and attention to detail, your painted drywall can serve as a beautiful backdrop for your home or office for years to come.


